|
Building Cafeterias and food courts with hidden
stalls. All the custom scenery used in this tutorial
can be found on Vodhin's site and
disfan1's tables can be found on the RCT3 Exchange as well
as the
Brand Logos
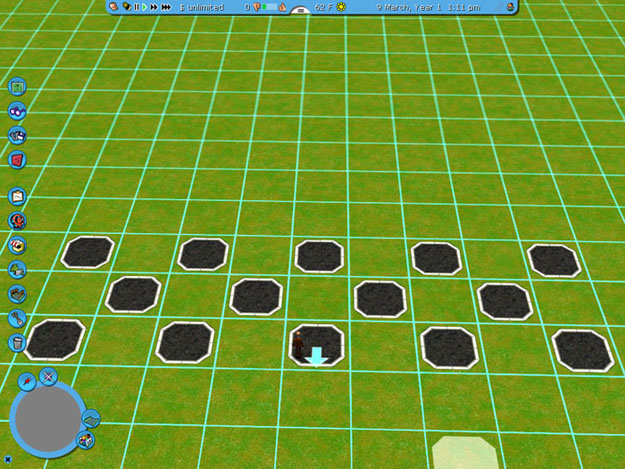
Determin how large you want your cafeteria or food court to
be and lay out a checkerboard where your tables and chairs
will be placed.
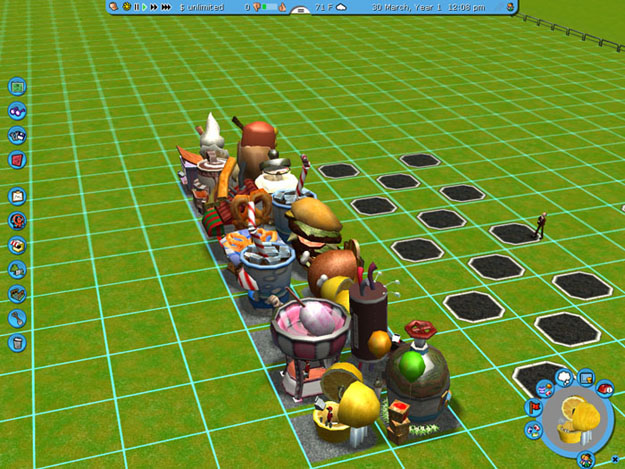
Line up the stalls you wish to use in a row back to back.
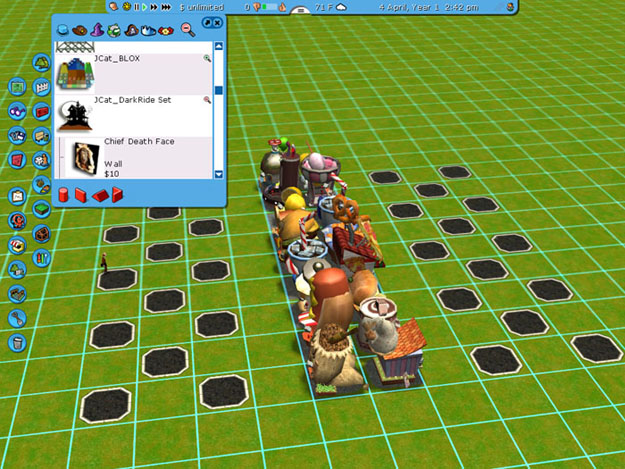
Place path squares on the other side if you wish to have
tables and chairs on each side.
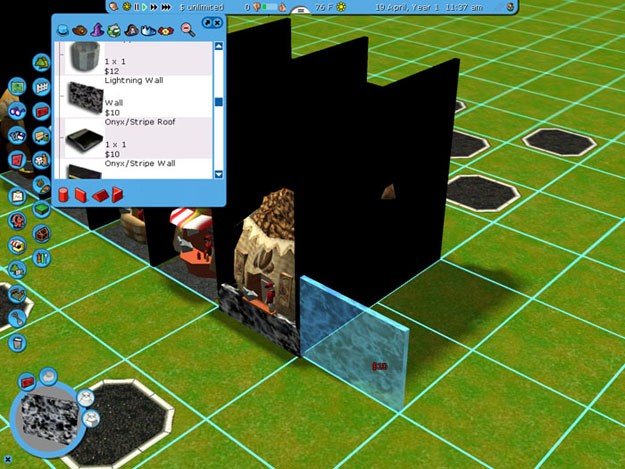
I did an optional step for this tutorial I don't always use
which is placing walls between the stalls to keep the view from
going straight through. The key to this entire
process is to use walls that do not have collision detection.
Several custom scenery walls work for this. In this
example I am using Pumpers pitch black walls and the
lightning wall all form his Dark Ride set.
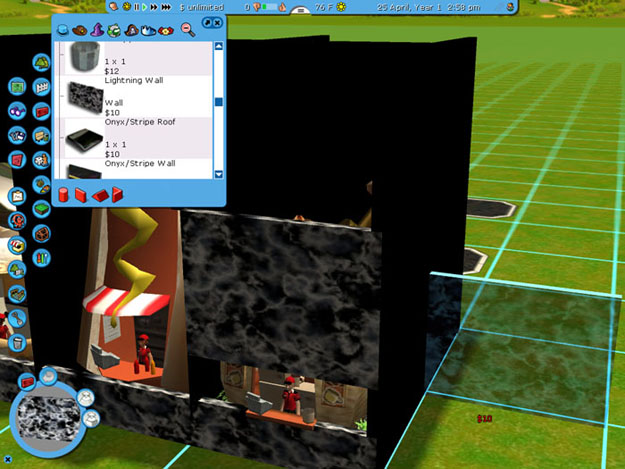
Each grid is divided by quarters in width and thirds in
height. I set the the lightning wall that will be the
counter front 2/3 into the ground and set a second wall 1/3 tile
above that to leave a space for the peeps and the vendors to see
each other. Raising and lowering the walls is done by
holding the shift key and moving your mouse forward or backward.
Walls without collision detection do not just raise to the next
height automatically like normal RCT3 scenery walls do so you
have to use the shift key and raise them up. The roof
tiles for the Soaked! city buildings work the same way. It
is useful to have some pieces like this so they can be placed
nearly anywhere.
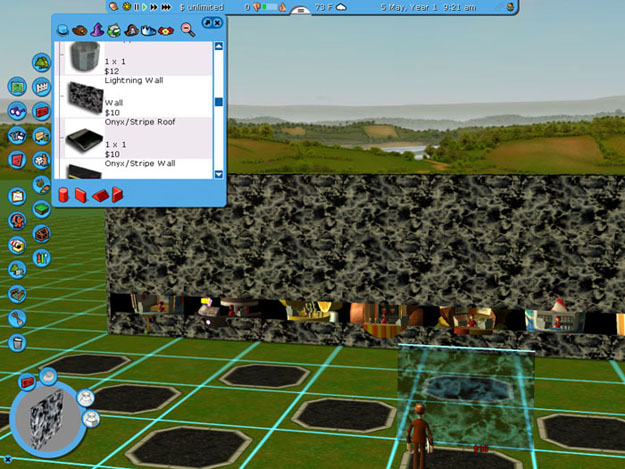
The inspector is watching as all the stalls are enclosed.
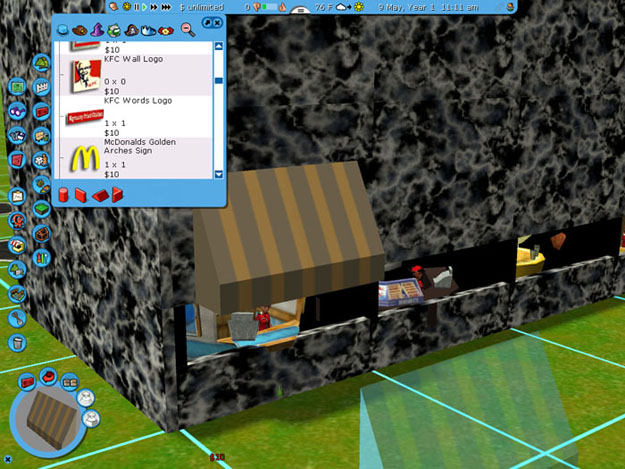
Several things can be used to dress the stalls up. Here
I am using Iceatcs KFC awning form his brand logos set.
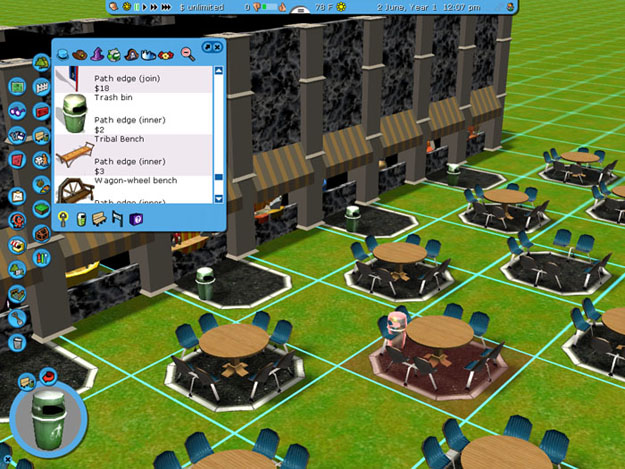
Placing tables, chairs, and trash bins. The tables are
from disfan1
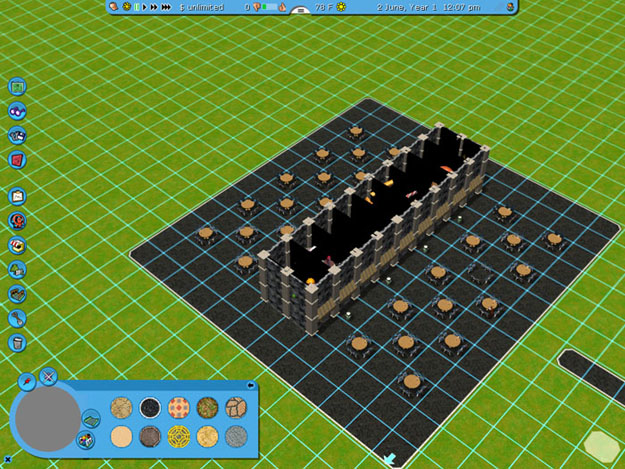
Fill in the space between the seating areas.
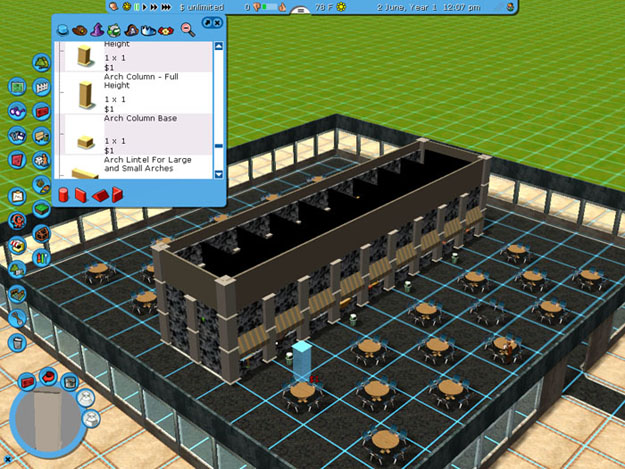
Enclose your new cafeteria in whatever style building you
like. Notice I have used standard RCT2 slate walls and
glass walls to enclose the food court. Looks plain now but
we will fix that soon. There is a 1/3 high wall that makes
the base around the entire court then the full height glass
walls and topped off with a 2/3 slate wall. The corners
also will not meet when you place the walls on the outside edge
of the path tiles but again, we will fix that shortly.
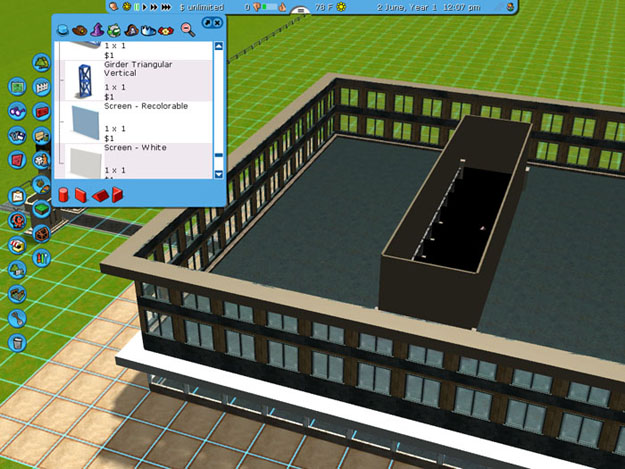
I am using an urban style structure. Custom scenery
plays a big roll by using Klinn's recolorable screen wall and
Pumper's Blox 1/4 tile mini cube. The first floor ledge
and roof ledge are Pumper's 1/4 cube form the BLOX set.
One of the most useful custom scenery objects. Those upper
floor windows are from the Slate walls in the standard scenery.
It is starting too look like an urban building now. Notice
that I used a 1/3 wall between the second and third floor
windows this gives it the illusion of having a full floor.
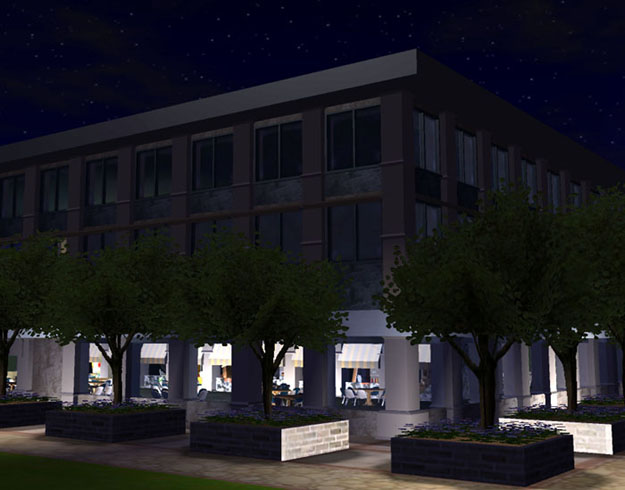
Finished building with lighting and landscaping.
Klinn's arch columns fill in between the windows just like we
did between the stalls inside and frame the doorway taking care
of that flat dull look and also covering those unsightly
corners.
Next let's look at some simple midway
style stalls. |


